

 Português
 Español
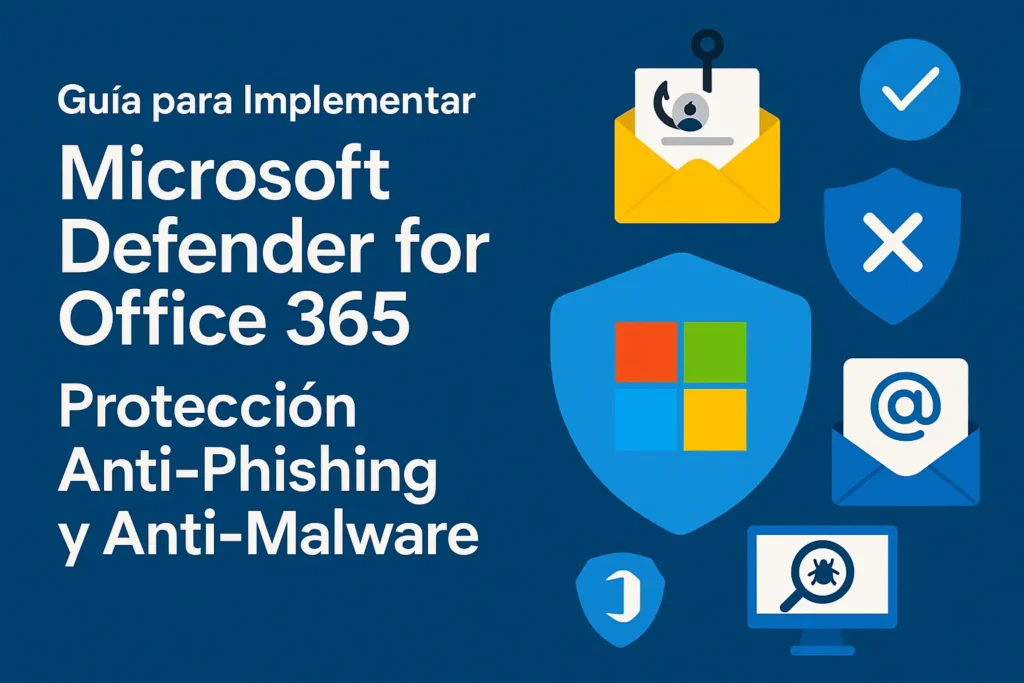
Guide to Implement Microsoft Defender for Office 365: Anti-Phishing and Anti-Malware Protection
Ninety percent of successful cyber-attacks start with a phishing email or a malicious file. Microsoft Defender for Office 365 extends Exchange Online Protection (EOP) with real-time analysis, threat intelligence and automated response. This guide explains—step by step—how to enable, configure and maintain the solution to harden your Microsoft 365 environment.
Contents
- Introduction: The Rise of Phishing and Targeted Malware
- What Is Defender for Office 365 and What Does It Protect?
- Required Plans and Licenses
- Configuring Basic Anti-Phishing Policies
- Configuring Anti-Malware and Anti-Spam Policies
- Enabling Safe Links and Safe Attachments
- Reviewing and Responding to Detected Incidents
- Best Practices to Keep Protection Current
- Conclusion: Proactive Protection Against Modern Threats
1. Introduction: The Rise of Phishing and Targeted Malware
Malicious-mail campaigns have evolved: they now rely on social-engineering tactics, PDF files with QR codes, thread hijacking, and polymorphic malware that recompiles every few hours. Securing the email channel is no longer optional; it is the first line of defense against ransomware, BEC (Business Email Compromise) and data loss.
2. What Is Defender for Office 365 and What Does It Protect?
Defender for Office 365 is a suite of advanced capabilities that sits on top of EOP. It provides:
- Preventive protection: Safe Links, Safe Attachments, AI-based anti-phishing policies.
- Detection: real-time analysis, sandbox detonation, domain and sender spoof heuristics.
- Response: automated investigation, Threat Explorer, bulk actions and playbooks.
- User awareness: Attack Simulation Training to educate end users.
3. Required Plans and Licenses
| Feature | Included in EOP | Plan 1 | Plan 2 |
|---|---|---|---|
| Standard anti-spam / anti-malware filtering | ✔ | ✔ | ✔ |
| Safe Links (real-time click scanning) | — | ✔ | ✔ |
| Safe Attachments (sandbox) | — | ✔ | ✔ |
| AI anti-phishing policy | — | ✔ | ✔ |
| Threat Explorer & automated investigation | — | — | ✔ |
| Attack-simulation training | — | — | ✔ |
Recommended license: Microsoft 365 E5 (includes Plan 2). For tighter budgets, combine E3 + Plan 1 Add-on.
4. Configuring Basic Anti-Phishing Policies
4.1 Via Security Center (GUI)
- Microsoft 365 Defender ▸ Email & Collaboration ▸ Policies & Rules ▸ Threat policies.
- Select Anti-phishing ▸ + Create.
- Enable Mailbox intelligence (learns trusted senders).
- Enable Domain impersonation and add your corporate domain.
- Enable User impersonation and add CFO, CEO, HR, etc.
- Recommended action: Quarantine & Notify Admin.
4.2 Quick PowerShell
# Exchange Online module
Connect-ExchangeOnline
New-AntiPhishPolicy -Name "AntiPhishCorp" `
  -EnableMailboxIntelligence $true `
  -EnableDomainImpSpoofProtection $true `
  -EnableUserImpSpoofProtection $true
New-AntiPhishRule -Name "AntiPhishCorpRule" `
  -AntiPhishPolicy "AntiPhishCorp" -RecipientDomainIs "corp.com"
5. Configuring Anti-Malware and Anti-Spam Policies
5.1 Anti-Malware
- Threat policies ▸ Anti-malware ▸ default policy ▸ Edit.
- Enable Zero-hour Auto Purge (ZAP) to remove messages detected post-delivery.
- Block file types:
.js,.iso,.vbs,.img. - Send notification to the internal sender and the SOC.
5.2 Anti-Spam
Use the Preset Security Policy – Strict baseline; it includes:
- Advanced spoof filtering.
- Domain authentication (DMARC, DKIM).
- Global block lists + Microsoft intelligence.
6. Enabling Safe Links and Safe Attachments
6.1 Safe Links
- Policies & Rules ▸ Safe Links ▸ + Create.
- Scope: Email + Microsoft Teams + Office documents.
- Enable Do not allow users to click through to block malicious URLs with no override.
- Exclude legitimate high-volume domains (banks, suppliers) only if they generate false positives.
6.2 Safe Attachments
- Policies & Rules ▸ Safe Attachments ▸ + Create.
- Select Dynamic Delivery: sends the email body while the attachment is scanned.
- Action: Replace or Quarantine if malware is found.
7. Reviewing and Responding to Detected Incidents
7.1 Threat Explorer
- Filter by Malware, Phish or URL Detected.
- Use Campaign View to see all affected recipients.
- Select messages ▸ Take action ▸ Soft delete / Purge.
7.2 Automated Investigation
Plan 2 triggers Auto-Investigation: isolates the message, analyzes links, evaluates related mailboxes and proposes or executes remediation. Review in Defender ▸ Incidents & alerts.
7.3 Playbooks (Power Automate)
Example: when a “User Impersonation” alert fires ▸ send an Adaptive Card to the SecOps team in Teams with Block sender / Approve buttons.
8. Best Practices to Keep Protection Current
- Enable DMARC with
p=quarantine/rejectto strengthen anti-spoofing. - Review Secure Score semi-annually; target ≥ 75 %. Adjust policies per recommendations.
- Run attack simulations quarterly (phishing, QR-phishing, BEC) to educate users.
- Monitor quarantine false-positives and adjust allow lists sparingly.
- Integrate Defender for Office 365 with Sentinel for cross-domain correlation.
- Document exceptions (third parties sending macro-enabled PDFs) for audit and review quarterly.
9. Conclusion: Proactive Protection Against Modern Threats
Microsoft Defender for Office 365 adds critical layers of dynamic analysis, AI-driven anti-phishing and automated response, turning email into a much safer channel. With well-tuned policies, periodic reviews and ongoing user training, your organization will be better prepared to stop malware campaigns, BEC attempts and impersonation attacks before they cause damage.
Need tailored assistance? The Cloud Fighters team can help you implement, fine-tune and operate Defender for Office 365 on a daily basis.